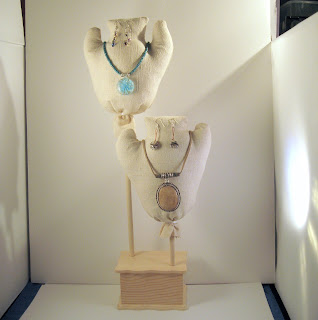
When I started my business, homemade tags off of my computer were a great option. They were fast, custom and economical. It also gave me time to decipher what my tag needs were and which shapes and sizes would work best with my displays and jewelry pieces.
As my business evolved, I found that I wanted something a little more professional that would take less of my time…leaving more time to make jewelry!
I began to research custom tag companies on the internet, but being a small business, I found most minimum purchases and prices too high. Plus, I don’t know about you, but when I was starting out, it seemed like every time I actually put something “in print” it changed! Phone number, web address, mailing address, favorite display photo, business description, etc…
I was determined to find a flexible, affordable option.
I had been ordering my business cards from an online company for years, and was very happy with the value and quality of their products. I started cutting up my business cards and trying out different ways to hang and attach them to my jewelry…BINGO!
Problems solved:
1. Extremely economical…so if information changed it was no problem re-ordering
2. Professional…heavier cardstock than I could fit through my computer and really clear, sharp full color printing
3. Smart…eliminated wear and tear on my printer…not to mention the cost savings on color printer cartridges
4. Easy, time saving… I could design my cards, in the privacy of my home, on my time, in my pajamas, while my son was asleep!
5. Good marketing…I could create a “look” for my printed material so that items coordinated.
6. Gave me lots of options…I could choose from hundreds …maybe thousands of their stock backgrounds and graphic designs…making it really simple when I didn’t want to think.
7. Cut down on “back stock”…small boxes and quantities of 250
I began designing my tags right on their website. It was very user friendly and the best part was that I could upload full color photos! (and at the time, I didn’t even know what “uploading” was)
Some examples of how I used regular business cards for my tags…
I would print my information multiple times on the card and then cut them while watching TV or during a slow point at a show…(see below)
1. For necklace, bracelet and earring hang tags I printed my material “4-up” on a horizontal card…cutting length-wise and width-wise to create 4 small rectangle tags from each full business card. I would attach with pretty string, (used for needlepoint), ribbon or plastic “lock-ties” (from the office supply store)


2. For necklace hang tags I printed my material “2-up” on a horizontal card…cutting it length-wise, for two long, skinny tags from each card. I would attach with pretty string, (used for needlepoint), ribbon or plastic “lock-ties” (from the office supply store)


3. For smaller earring cards I printed my material “ 2-up” on a horizontal card…cutting it up and down to create two square tags that I could attach a self adhesive, plastic hanger to the back of. I would poke two tiny holes for the ear wires to fit through with a straight pin.

4. For larger earring cards I printed my material “ 1-up” on a vertical card…that I could attach a self adhesive, plastic hanger to the back of. I would poke two tiny holes for the ear wires to fit through with a straight pin. These fit perfectly in 3” x 4” baggies for storage and display.

5. I created a gift enclosure or gift tag with my information to coordinate with my holiday wrap. I kept the design neutral so they could be used all year.

6. In a pinch, I have printed a vertical business card…keeping the printed information to the lower half of the card so that I could fold it in half and use it to hang it on my wire displays.
Good luck!
P


